How do I install and activate Assistini?
Installing Assistini is quick and easy—no technical experience required. You can choose one of two methods:
1) Install via the WordPress Plugin Repository:
From your WordPress dashboard, navigate to “Plugins” -> “Add New”. Search for Assistini, click on “Install Now“, and activate the plugin.
2) Upload the Plugin Manually:
Download the Assistini plugin ZIP file. In your WordPress dashboard, go to “Plugins” -> “Add New” -> “Upload Plugin“, select the ZIP file, and follow the prompts to install and activate it.
Once activated, you’ll find Assistini in your dashboard menu, ready for configuration.
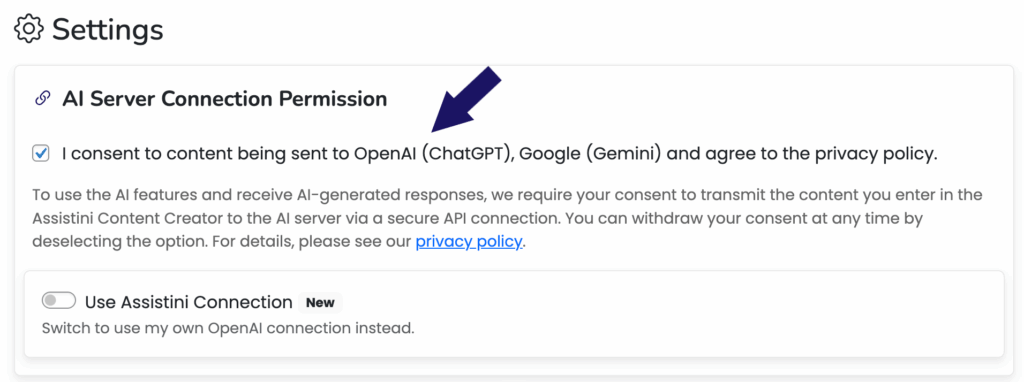
Permission to Connect with OpenAI
To enable AI features and provide AI-generated responses, we need your consent to securely transmit the content you enter in the Assistini Content Creator to OpenAI’s servers via API. You can withdraw your consent at any time by unchecking the option in the Assistini settings. For more information, please refer to our privacy policy.
To use your own AI provider, please refer to this guide:
Can I connect Assistini to my own AI provider (like OpenAI or others)?
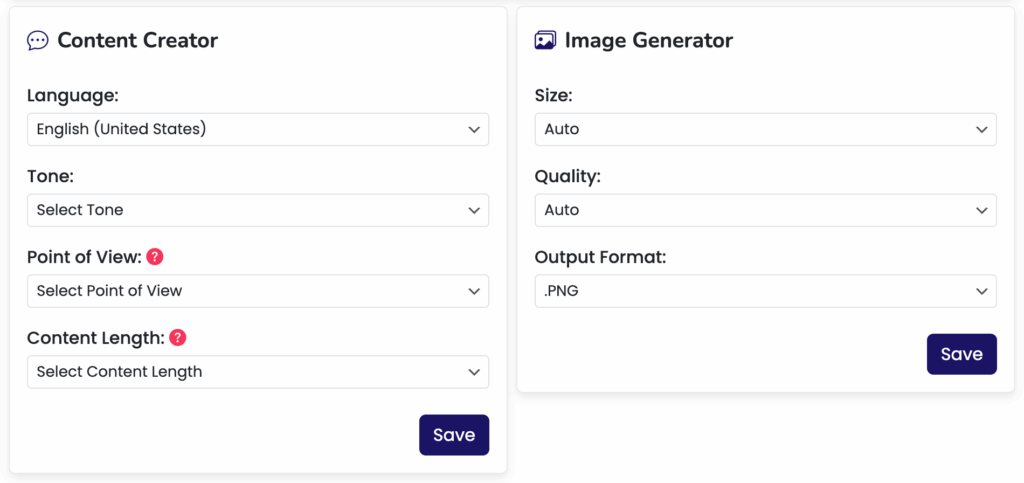
More Configuration Options
For example, you can specify the language, tone, point of view, and content length for the Content Creator. Additionally, for the Image Generator, you can define the size, quality, and output format of your images.